Welcome back to our series on home recording for musicians. In this post, we’ll cover the basics of home recording and provide you with a list of essential equipment to get started. The goal is to help you set up a simple and effective home recording studio that can produce quality recordings ready for professional mixing at Jeddraudio Recording Studio.
Best Practices for Setting Up a Home Recording Studio
Basics and essential Gear
Setting up a home recording studio only requires a few basics. Here’s a list of the essential gear you’ll need to get started:
- Computer: A reliable computer is the heart of your home recording studio. Choose a computer with sufficient processing power and memory to handle your recording software and plugins. But don’t overthink it, most recent computers can handle recording.
- Audio Interface: An audio interface is the bridge between your instruments, microphones, and your computer. It converts analog signals into digital data that your computer can process. Choose an interface with the right number of inputs and outputs for your needs.
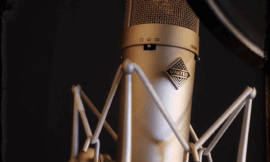
- Microphones: A good microphone is essential for capturing high-quality recordings. Start with a versatile microphone that can handle a variety of sound sources, such as a large-diaphragm condenser microphone for vocals and acoustic instruments. Anything else, a good old SM57 will mostly do the trick!
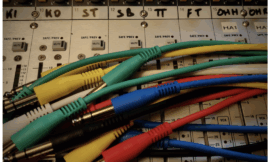
- Cables: High-quality cables are crucial for ensuring a clean and noise-free signal. Invest in a few XLR cables for microphones and instrument cables for guitars and basses. Don’t step into the “magical cable” marketing trap, though. Any decent manifacturer with Neutrik connectors will do just fine.
- Headphones or Studio Monitors: Headphones or studio monitors are essential for accurate listening. Choose headphones that are comfortable. Studio monitors should be placed in an optimal position for accurate stereo imaging. Read the manual (yeah I know, crazy idea right?!) that came with your monitors to learn about placement.
Software Choices
Choosing the right software is crucial for your home recording setup. Here are a few options to consider:
- Digital Audio Workstation (DAW): A DAW is the software you’ll use to record, edit, and mix your music. There are many options available, ranging from free and budget-friendly (Reaper) to high-end professional software (Pro Tools, Cubase, Logic Pro). Choose a DAW that suits your needs for the long run.
- Plugins and Virtual Instruments: Plugins and virtual instruments can greatly enhance your recording and mixing capabilities. Start with a few essential plugins, such as EQ, compression, and reverb. The good news is, your DAW came with those stock!
Room Treatment
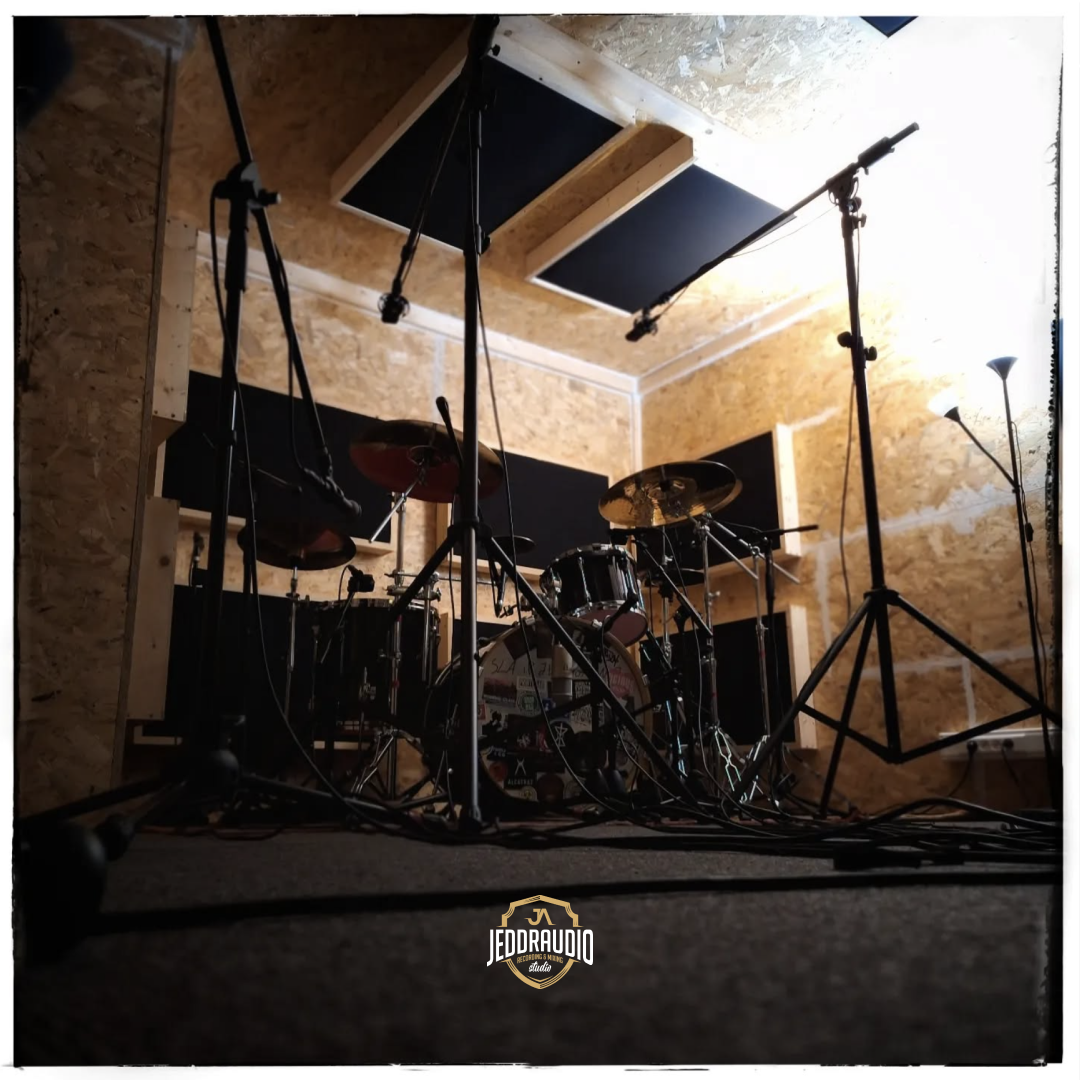
Creating a suitable recording environment is essential for achieving high-quality recordings. Here are a few tips for treating your room:
- Use Acoustic Treatment: Use blankets, pillows, or foam panels to minimize reflections and control the room’s acoustics. This helps to reduce unwanted echo and reverberation. If you don’t plan to do this frequently, find a room full of stuff and furniture, but…
- Choose a Quiet Room: Select a room that is as quiet as possible, away from external noise and distractions.
- Carpeted Room: If possible, record in a carpeted room to minimize reflections and create a more controlled acoustic environment.
Conclusion
Setting up a home recording studio can be a simple and rewarding process. By investing in essential gear, choosing the right software, and treating your room, you can create a suitable recording environment that produces quality recordings. Keep things simple, focus on the basics, and follow these best practices to set up a home recording studio that meets your needs and helps you achieve your musical goals.
Stay tuned for the next post in our series, where we’ll explore mix prep and organizing your home recordings for professional mixing.