Welcome to our series on preparing for a successful recording session. In this post, we’ll focus on amplifier setup and provide essential tips on getting the best sound for recording. Proper amplifier setup can greatly enhance the quality of your recordings and contribute to a more efficient and enjoyable studio experience.
Introduction
Recording in a studio is an exciting opportunity to capture your music at its best. For guitarists and bassists, this means ensuring that your amplifiers are set up to achieve the perfect tone. A well-prepared amplifier can make a significant difference in the quality of your recordings and help you achieve the sound you’re aiming for.
Choosing the Right Amplifier and Settings
Selecting the Right Amplifier
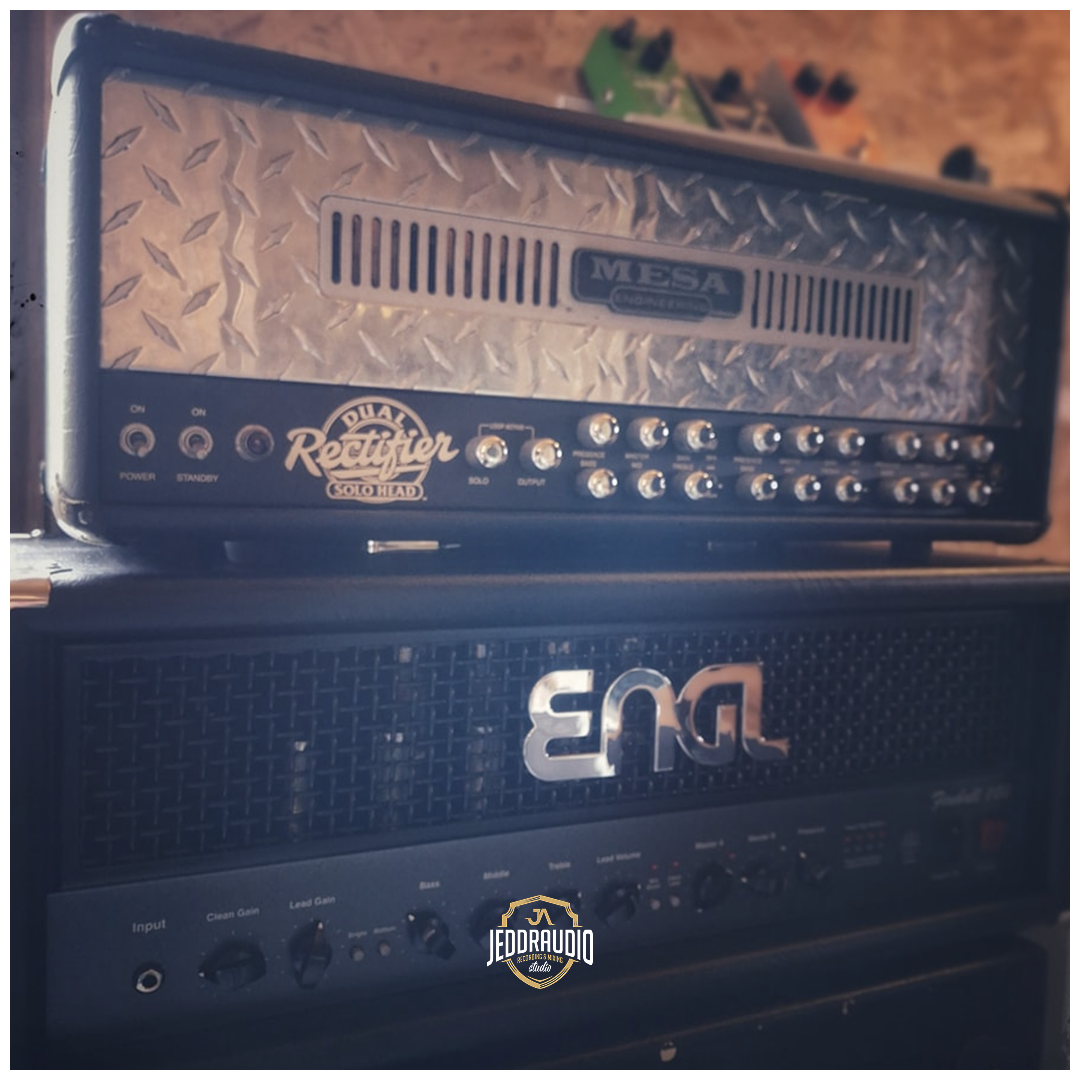
The type of amplifier you choose can greatly impact the sound of your recordings. Different amplifiers have unique tonal characteristics and features, so select one that complements your instrument and the style of music you’re recording. Consider factors such as the type of tubes or transistors, speaker size and configuration, and built-in effects or EQ options, as these can all influence the overall sound.
Setting Up Your Amplifier
Once you’ve selected the right amplifier, it’s essential to set it up properly to achieve the best sound for recording. This involves experimenting with different settings and configurations to find the tone that works best for your instrument and the style of music you’re recording. Consider factors such as the EQ, gain, and effects settings, as these can all influence the overall sound.
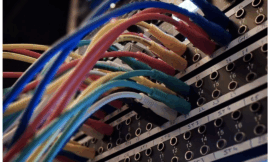
Tips on Microphone Placement and Techniques
Choosing the Right Microphone
Selecting the right microphone is crucial for capturing the best amplifier sound. Different microphones have unique characteristics and are suited to specific applications, so it’s essential to choose the appropriate microphone for the sound source you’re recording. Some popular microphone types for recording amplifiers include:
- Dynamic Microphones: Dynamic microphones are versatile and durable, making them suitable for a wide range of applications, such as recording amplifiers, instruments, and vocals. They are less sensitive than condenser microphones, which can help to reduce unwanted noise and leakage in the recording.
- Condenser Microphones: Condenser microphones are more sensitive and accurate than dynamic microphones, making them ideal for capturing detailed sound sources, such as acoustic instruments and vocals. However, they can also be used for recording amplifiers, especially when a more open and transparent sound is desired.
- Ribbon Microphones: Ribbon microphones have a warm and vintage sound, making them well-suited for recording amplifiers, instruments, and room ambiance. They are less common than dynamic and condenser microphones but can provide a unique and desirable tone for certain applications.
Microphone Placement Techniques
Once you’ve chosen the right microphone, it’s essential to place it correctly to achieve the desired sound. Experiment with different microphone placement techniques to find the tone that works best for your amplifier and the style of music you’re recording. Some popular microphone placement techniques for recording amplifiers include:
- Close Miking: Close miking involves placing the microphone close to the amplifier’s speaker, typically within a few inches. This technique can help to capture a direct and focused sound, with a emphasis on the mid and high frequencies. However, it can also result in a more aggressive and harsh tone, so it’s essential to experiment with different microphone positions and settings to achieve the desired sound.
- Room Miking: Room miking involves placing the microphone at a distance from the amplifier, typically a few feet or more. This technique can help to capture the natural ambiance and reverberation of the room, as well as the amplifier’s sound. However, it can also result in a more diffuse and less focused tone, so it’s essential to experiment with different microphone positions and settings to achieve the desired sound.
- Stereo Miking: Stereo miking involves using two microphones to capture a stereo image of the amplifier’s sound. This technique can help to create a more immersive and realistic listening experience, as well as provide a sense of space and depth in the recording. However, it can also result in a more complex and time-consuming setup, so it’s essential to experiment with different microphone positions and settings to achieve the desired sound.
The Importance of Room Acoustics
Understanding Room Acoustics
Room acoustics refer to the way sound behaves in a given space, including factors such as reflections, reverberation, and standing waves. The acoustics of the room can greatly impact the sound of your recordings, so it’s essential to understand and optimize the acoustic environment for the best amplifier tone.
Optimizing Your Recording Environment
To optimize your recording environment for the best amplifier tone, consider the following tips:
- Use Acoustic Treatment: Acoustic treatment involves using materials and devices to absorb, diffuse, or reflect sound waves, with the goal of creating a more accurate and controlled listening environment. This can include using bass traps to absorb low-frequency energy and reduce standing waves, installing acoustic panels or foam to minimize reflections and control reverberation, and adding diffusers to scatter sound waves and create a more natural and balanced acoustic environment.
- Experiment with Amplifier Placement: The placement of your amplifier in the room can greatly impact the sound of your recordings. Experiment with different amplifier positions and orientations to find the tone that works best for your instrument and the style of music you’re recording. Consider factors such as the distance from the walls and corners, the height and angle of the amplifier, and the orientation of the speaker, as these can all influence the overall sound.
- Consider the Size and Shape of the Room: The size and shape of the room can also impact the sound of your recordings. Larger rooms tend to have a more open and spacious sound, while smaller rooms can have a more intimate and focused tone. Additionally, the shape of the room can affect the way sound waves interact and behave, so it’s essential to consider the size and shape of the room when setting up your amplifier and recording environment.
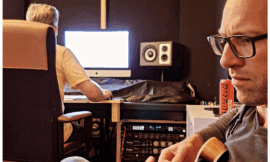
Communicating with Your Producer and Engineer
Before the recording session, communicate with your producer and engineer about your sound and any specific preferences or requirements you have. This will help them understand your vision and make informed decisions throughout the recording process. Be open to their feedback and suggestions, as they can provide valuable insights and guidance for achieving the best possible sound.
Conclusion
Amplifier setup is a crucial aspect of preparing for a successful recording session. By choosing the right amplifier and settings, experimenting with microphone placement and techniques, and optimizing your recording environment for the best amplifier tone, you can ensure that your recordings sound their best and contribute to a more efficient and enjoyable studio experience. Take the time to prepare and experiment with different setups and configurations, and enjoy the recording process as an opportunity to capture your music at its best.
Stay tuned for more blog posts in our series on preparing for your recording session. Next up, we’ll be focusing on the importance of pre-production rehearsals and tips for bands and musicians.