
Welcome to our series on home recording for musicians. In this post, we’ll guide you through the process of recording your drum kit at home, keeping things simple and effective. The goal is to achieve a quality recording that can be professionally mixed at Jeddraudio Recording Studio.
Best Practices for DIY Drum Recording
Use Minimal Microphones
When recording drums at home, it’s best to start with a basic microphone setup. This approach minimizes complexity and ensures that you capture a balanced sound without overwhelming your recording environment.
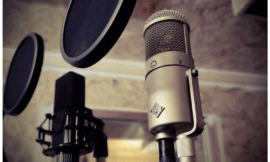
- Kick Drum Mic: Place a dynamic microphone, such as a Shure SM57 or AKG D112, inside the kick drum, slightly off-center from the beater for a balanced sound.
- Snare Mic: Position another dynamic microphone above the snare drum, pointing towards the center of the drumhead.
- Overhead Mics: Use a pair of condenser microphones as overheads, placed above the kit to capture the overall sound of the drums and cymbals. Position them in a spaced pair or X/Y configuration for a stereo image.
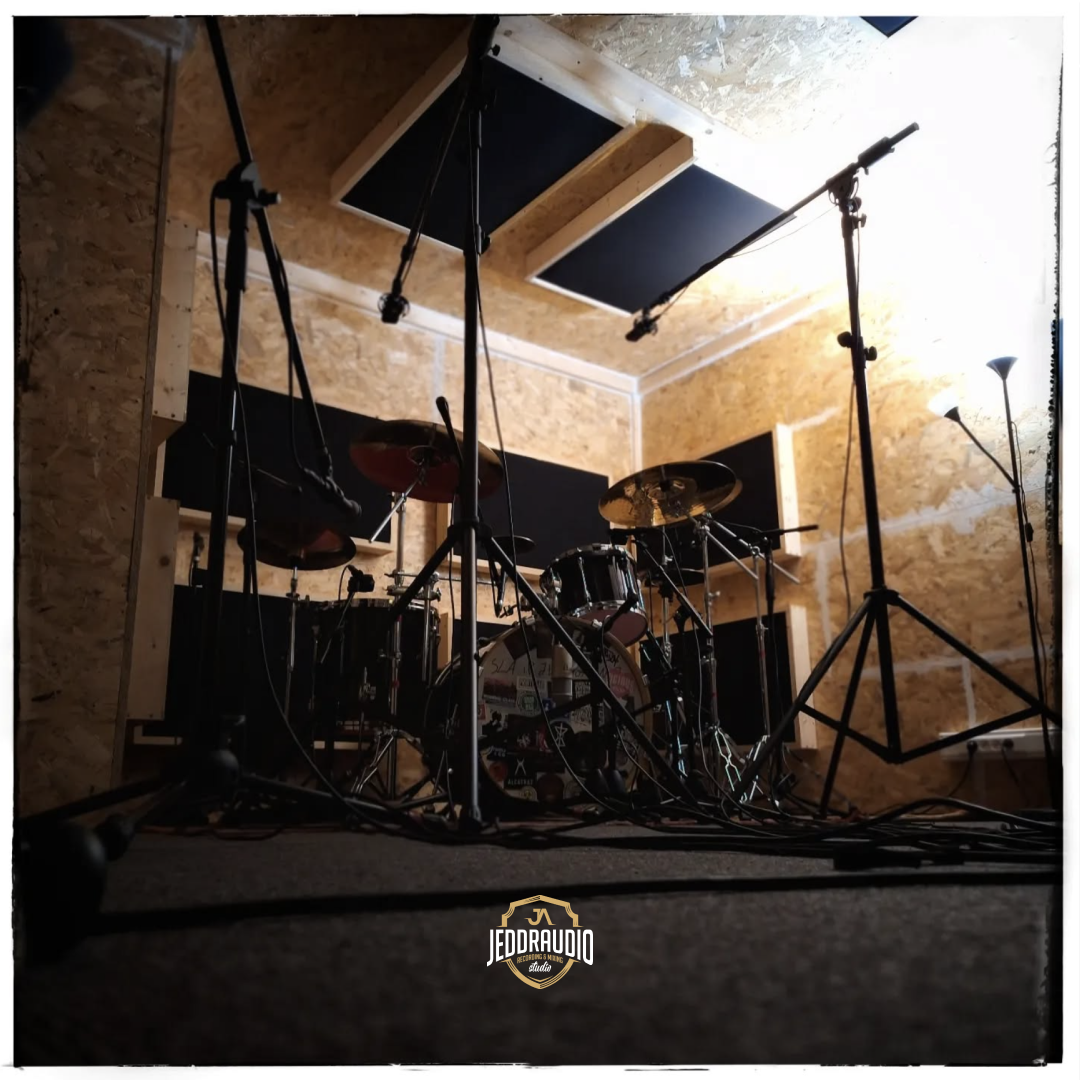
Room Setup
Choosing the right room and setting it up properly is crucial for achieving a good drum sound.
- Choose a Quiet Room: Select a room that is as quiet as possible, away from external noise and distractions.
- Use Blankets or Foam: Hang blankets or use foam panels to minimize reflections and control the room’s acoustics. This helps to reduce unwanted echo and reverberation.
- Experiment with Drum Position: Try different positions for your drum kit within the room to find the spot that sounds best. Avoid placing the kit in the exact center of the room, as this can emphasize certain frequencies and create a boomy sound.
Recording Tips
- Balance the Sound: Spend time tuning your drums and adjusting the microphone positions to achieve a balanced sound. Listen to each drum and cymbal through your headphones and make sure they sound good individually and together.
- Avoid Over-Processing: While it may be tempting to use EQ and compression while recording, it’s best to keep processing to a minimum. This allows the mixing engineer at Jeddraudio Recording Studio to have more flexibility and control during the mixing process.
- Record Multiple Takes: Capture several takes of your performance to ensure you have options to choose from during the mixing stage. This can help you achieve the best possible result.
Conclusion
Recording your drum kit at home can be a rewarding experience, and by following these best practices, you can achieve a quality recording that is ready for professional mixing. Keep things simple, focus on capturing a balanced sound, and avoid over-complicating the process. With these tips, you’ll be well on your way to creating great-sounding drum tracks at home.
Stay tuned for the next post in our series, where we’ll explore recording bass at home.

