
Welcome to our series on preparing for a successful recording session. In this post, we’ll focus on drummers and provide essential tips on tuning and preparing your drum kit for the studio. A well-tuned and maintained kit can significantly enhance the quality of your recordings and contribute to a more efficient and enjoyable studio experience.
Introduction
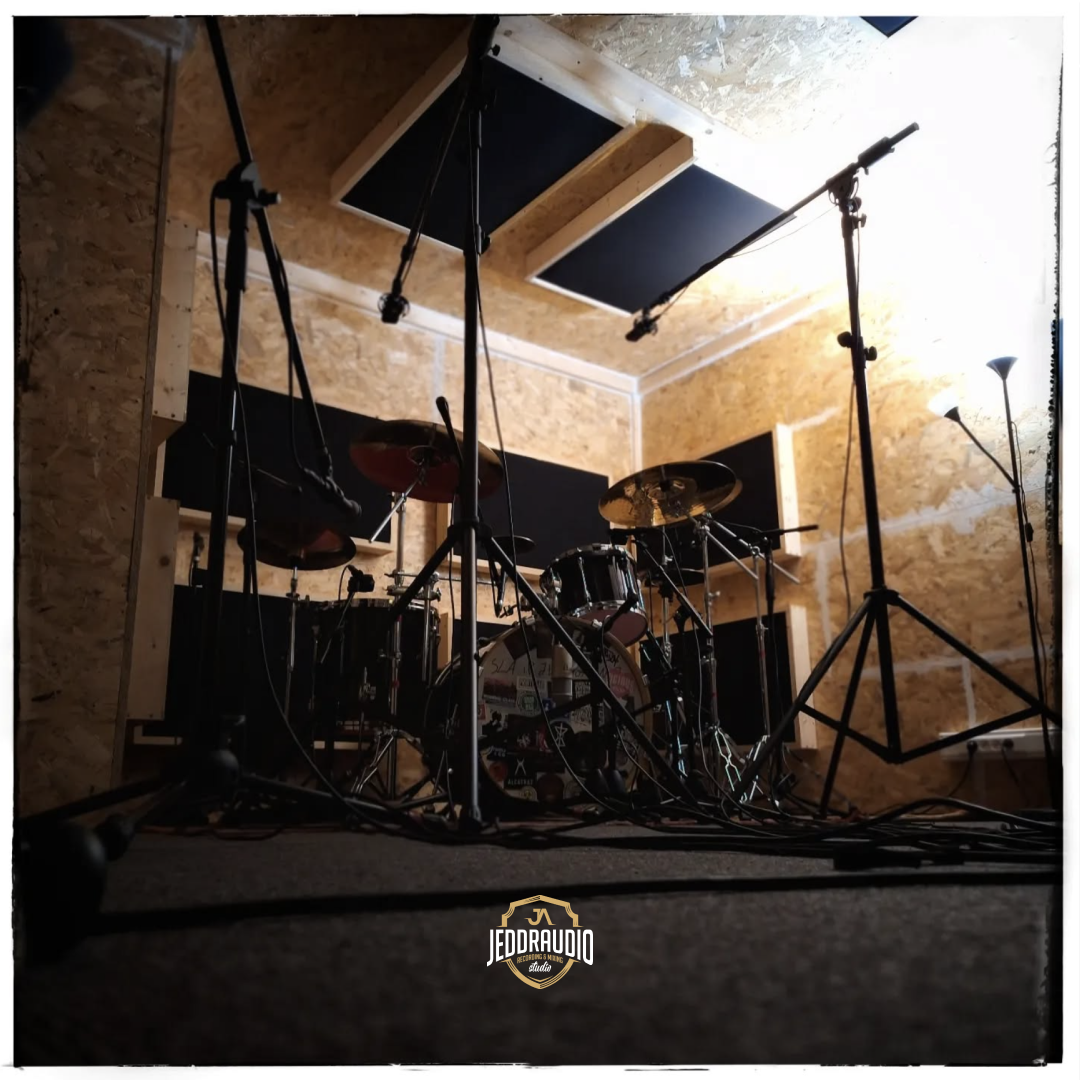
Recording in a studio is an exciting opportunity to capture your music at its best. For drummers, this means ensuring that your kit is in top condition and sounds its absolute best. Proper tuning and preparation can make a significant difference in the quality of your recordings and help you achieve the sound you’re aiming for.
Tips on Tuning Drums for Optimal Sound Quality
Understanding Drum Tuning
Tuning your drums is both an art and a science. It involves adjusting the tension of the drumheads to achieve the desired pitch and tone. A well-tuned drum kit will not only sound better but also be more responsive and easier to play.
Step-by-Step Tuning Guide
- Gather Your Tools: Before you start, make sure you have a drum key and a tuning meter (optional but helpful).
- Start with the Batter Head: Place the drum on a soft surface to avoid damaging the head. Use your drum key to tighten the tension rods in a star pattern. This ensures even tension across the head. Tap the drum near each tension rod to check the pitch, and adjust as needed.
- Tune the Resonant Head: Once the batter head is tuned to your desired pitch, flip the drum over and tune the resonant head (the bottom head). The resonant head in a slightly higher pitch than the batter head is a good starting point for a balanced sound. But do experiment! Sometimes tuning it lower is that sound you have been looking for for ages.
- Check for Symmetry: After tuning both heads, tap the drum near each tension rod to ensure the pitch is consistent all around the drum. Make any necessary adjustments to achieve even tuning.
Choosing the Right Drumheads and Cymbals
Drumheads
The type of drumheads you choose can greatly impact the sound of your drums. Coated heads are great for a warmer sound, while clear heads offer a brighter tone. For recording, you might want to consider heads that provide a balanced and controlled sound, such as two-ply heads or heads with built-in damping.
Cymbals
Selecting the right cymbals is equally important. Different cymbals produce different tones and overtones, so choose wisely based on the style of music you’re recording. Consider the overall sound you want to achieve and select cymbals that complement your drum kit and the music you’re playing. Use friend’s cymbals if yours are no longer in an optimal condition!
Maintaining and Preparing Your Drum Hardware
Inspect and Tighten Hardware
Before heading to the studio, inspect your drum hardware to ensure everything is tight and secure. Loose hardware can cause rattling and affect the sound of your drums. Pay special attention to lugs, tension rods, and hoops.
Lubricate Moving Parts
Apply a small amount of lubricant to moving parts, such as the bass drum pedal and hi-hat stand. This will ensure smooth operation and reduce squeaking during recording. Actually, if it does make noise, loan gear that doesn’t squeak!
Adjust the Snare Wires
Make sure the snare wires are properly tensioned and centered on the snare drum. The snare wires should be tight enough to produce a crisp snare sound but not so tight that they choke the drum.
Additional Tips for Studio Preparation
Practice with a Metronome
Practicing with a metronome is crucial for developing a solid sense of timing and ensuring that your performances are tight and accurate. This is especially important in the studio, where precise timing is essential.
Record and Review Your Performances
Recording your practice sessions and performances can be a valuable tool for identifying areas that need improvement and tracking your progress over time. Listen back to the recordings and take notes on what’s working well and what needs further refinement.
Communicate with Your Producer and Engineer
Before the recording session, communicate with your producer and engineer about your sound and any specific preferences or requirements you have. This will help them understand your vision and make informed decisions throughout the recording process.
Conclusion
Tuning and preparing your drum kit for the studio is an essential step in the recording process. By following the tips and techniques outlined in this post, you can ensure that your drums sound their best and contribute to a successful and enjoyable studio experience. Take the time to tune your drums, choose the right heads and cymbals, maintain your hardware, and practice your performances to achieve the best possible results in the studio.
Stay tuned for more blog posts in our series on preparing for your recording session. Next up, we’ll be focusing on bassists and how to achieve the perfect tone for studio recording.